How To Clean Canvas Awnings

TT Shutters & Shading • July 5, 2023

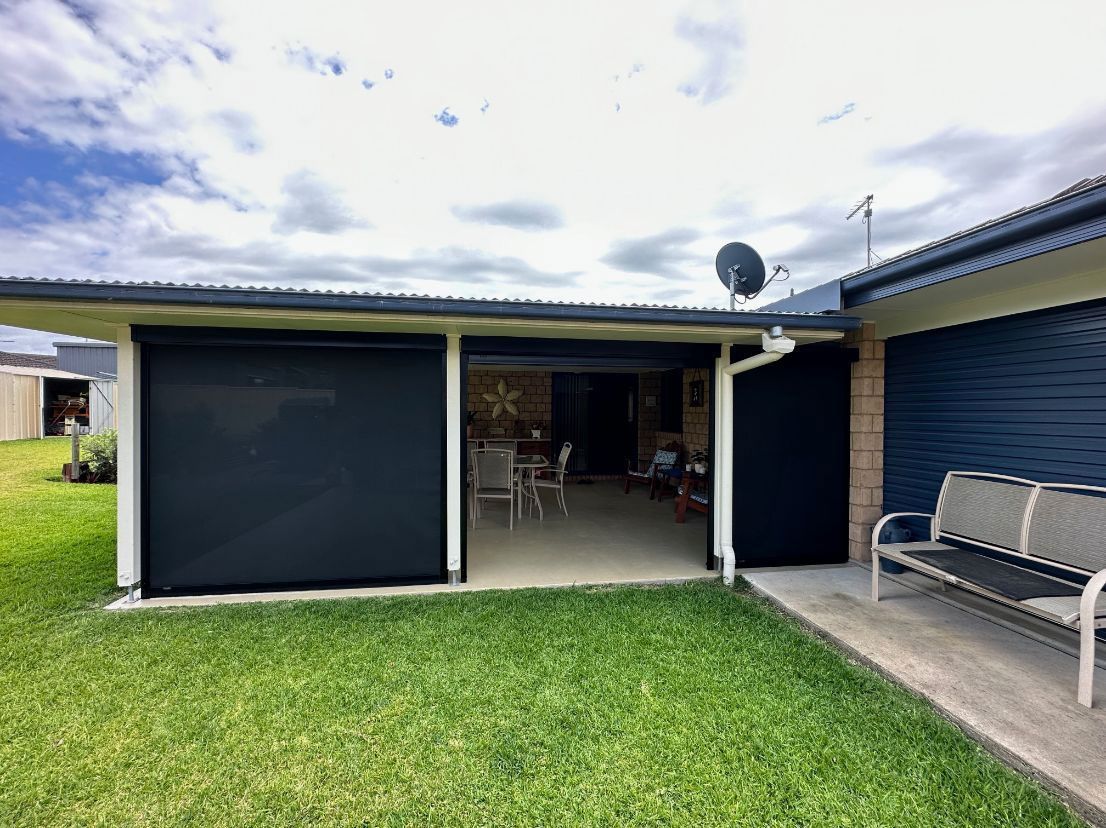
Canvas awnings are a popular choice for homeowners, providing a blend of functionality and aesthetics. These versatile coverings offer shade and protection from the elements, enhancing outdoor spaces and creating inviting areas for relaxation or entertainment. However, over time, constant exposure to the elements and daily wear and tear can leave your awnings looking dull and stained. That’s where proper cleaning comes in. In this blog, we’ll help you revitalise your canvas awnings with a detailed step-by-step cleaning process.


Gathering The Necessary Tools


Before getting started, gather the following supplies to make the cleaning process smoother and more efficient:


  • Soft-bristle brush or broom
  • Mild dish soap or canvas cleaner
  • Bucket
  • Garden hose with a spray nozzle
  • Stain remover (optional)
  • Soft cloth or sponge
  • Waterproofing spray (optional)


Preparing Your Canvas Awning For A Thorough Clean


  • Retract or remove the awning: If your canvas awning is retractable, make sure to fully retract it before cleaning. If it’s not retractable, you can remove it from its frame or support structure if possible. This will make the cleaning process easier and allow you to access all areas of the awning.
  • Clear the area: Remove any furniture, potted plants or other objects that may obstruct your access to the awning. This will give you a clear and unobstructed workspace.
  • Check for any repairs needed: Take a close look at the awning for any signs of damage or areas that may need repair. Look for tears, loose threads or any other issues that may require attention. It’s best to address these repairs before proceeding with the cleaning process.


Choosing The Right Cleaning Solution


The choice of cleaning solution can depend on the type of stain you’re dealing with, as well as the manufacturer’s recommendations. Here are the options to consider:


  • Mild dish soap: A gentle dish soap mixed with water can often be sufficient for regular cleaning. It’s important to use mild soap to avoid damaging the fabric.
  • Specialised cleaner: There are also commercial cleaners available specifically formulated for cleaning canvas awnings. These cleaners are designed to effectively remove dirt and stains without harming the fabric. Follow the manufacturer’s instructions for the appropriate dilution ratio and application method.
  • Stain remover: For stubborn stains, you can use a stain remover specifically designed for canvas fabrics. Before applying the stain remover, test it on a small, inconspicuous area of the awning to ensure it doesn’t cause any discolouration or damage.


It’s important to read the instructions provided by the manufacturer of the cleaning solution and follow them carefully. This will ensure that you achieve the best results.


Cleaning The Canvas Awning


  • Apply the cleaning solution: Take a soft cloth or sponge and dip it into the bucket containing the cleaning solution. Make sure the cloth or sponge is saturated but not dripping.
  • Scrub the canvas: Starting from the top of the awning, gently scrub the canvas fabric in a circular motion. Be careful not to scrub too vigorously, as this may damage the fabric.
  • Rinse the cloth or sponge: As you clean, rinse the cloth or sponge regularly in the bucket of cleaning solution. This will help prevent the spreading of dirt or stains to other parts of the awning.
  • Rinse off the cleaning solution: Use a hose with a spray nozzle attachment to thoroughly rinse the fabric. Start from the top and work your way down, ensuring all soap residue is removed.


Drying And Maintenance


By following these practices, you can extend the lifespan of your canvas awning and keep it looking its best for years to come:


  • Air drying: Allow your canvas awning to air dry completely before retracting or folding it. This ensures that no moisture is trapped, which can lead to mould or mildew growth. Avoid using artificial heat sources or dryers, as they can shrink or damage the fabric.
  • Inspect for any remaining stains: Once the awning is dry, inspect it closely to ensure that all stains have been effectively removed. If you notice any remaining stains, you can repeat the cleaning process or consider spot-cleaning those areas.
  • Establish a maintenance routine: This may include periodic cleanings, especially after heavy rain or exposure to environmental pollutants. Additionally, inspect the awning regularly for any signs of damage or wear and address them promptly.


Long-lasting Canvas Awnings In Ballina


If you are looking for custom awnings in Ballina, turn to TT Shutters & Shading. We supply and install a wide range of outdoor awnings from Ziptrak®. If you need professional consultation for awning maintenance or new awnings installation in Ballina, get in touch with us!

A Dining Area With Floor-To-Ceiling White Sheer Curtains, Next To A Black Staircase
By TT Shutters & Shading April 14, 2026
Learn how to choose curtains in Ballina that reduce heat, control glare and maintain privacy with fabrics suited to coastal homes and room needs.
Modern Dining Room Overlooking Coast With Roller Blinds
By TT Shutters & Shading April 13, 2026
Discover how to choose blinds in Ballina that balance privacy and natural light, with options suited to coastal homes and different room needs.
By TT Shutters & Shading March 18, 2026
A single curtain can soften a window. Two layers can transform the entire room. When fabrics, textures and light control work together, window coverings move beyond decoration and become part of the way a space functions each day. Many homeowners first encounter the idea while searching for curtains in Ballina. They notice living rooms where light filters gently during the day, yet disappears completely at night. Bedrooms feel calm, insulated and private. The secret is not always the fabric itself but how those fabrics are layered. Layering curtains creates flexibility. Sheers soften daylight. Blockout curtains control privacy and temperature. Blinds can provide an additional layer of light management. When combined thoughtfully, these elements create a window treatment that adapts throughout the day. Understanding how to layer curtains allows homeowners to balance visual style with practical comfort. The right combination of fabrics, hardware and installation ensures the window treatment performs as well as it looks. Start With The Base Layer: Blinds That Control Light And Privacy Layered window treatments often begin with a practical base layer. Blinds provide precise control over light and privacy while remaining compact against the window frame. Curtains then add softness and visual depth. Many homeowners use blinds beneath curtains to manage daylight without opening or closing the entire curtain set. This approach allows subtle adjustments throughout the day. It also creates a cleaner, more versatile window solution. Roller blinds for streamlined light control Plantation shutters for adjustable airflow Light-filtering blinds for daytime privacy Blockout blinds for bedroom darkness Custom-fitted blinds for accurate coverage Starting with a functional base layer improves flexibility. When exploring how to layer curtains, blinds often provide the structural foundation that supports both comfort and design. Sheer Curtains: The Layer That Softens A Room Sheer curtains introduce softness and movement into a space. They filter daylight rather than blocking it entirely. The result is a gentle glow that reduces glare while maintaining openness. This layer plays a visual role as well as a functional one. Sheer fabrics soften architectural lines and create an inviting atmosphere. When paired with blinds or heavier curtains, they help balance brightness and privacy. Light-diffusing fabrics that reduce glare Subtle textures that add visual depth Floor-length sheers that elongate windows Neutral tones that complement most interiors Lightweight fabrics that move naturally Many homeowners exploring curtains in Ballina begin with sheer layers before adding heavier curtains. This approach allows the room to remain bright while still providing coverage when required. Blockout Curtains For Comfort And Light Control Blockout curtains form the protective layer of a window treatment. They prevent light intrusion, improve insulation and enhance privacy after dark. When combined with sheers, they create a versatile system. Bedrooms benefit particularly from this layered structure. The outer curtain can block early morning light while the sheer layer remains decorative during the day. This balance between comfort and appearance defines effective layering curtains. Thick fabrics that block external light Thermal backing that improves insulation Privacy protection after sunset Noise reduction from heavier materials Greater temperature stability in bedrooms Blockout curtains ensure the window treatment performs beyond aesthetics. They allow layered curtains to deliver real comfort improvements within the home. Choosing Fabrics That Work Together Layering succeeds when fabrics complement each other rather than compete. Texture, weight and colour all influence how the finished window looks. Pairing fabrics carefully creates cohesion. Light sheers often contrast with heavier outer curtains. The difference in texture introduces depth without overwhelming the room. Selecting compatible materials is an important step when learning how to layer curtains effectively. Lightweight sheers paired with dense outer fabrics Complementary colours rather than identical tones Subtle textures that avoid visual clutter Fabric durability suited to room conditions Easy-care materials for everyday practicality A balanced pairing ensures layered curtains remain visually calm. Fabric selection shapes both comfort and the overall atmosphere of the room. Curtain Tracks And Hardware That Make Layering Possible Layered curtains rely on the right hardware. Double tracks allow two curtain layers to move independently. Without proper support systems, layered fabrics can become difficult to operate. Professional curtain installation ensures that tracks are aligned, secure and capable of supporting heavier fabrics. Hardware selection influences how smoothly the curtains open and close. Double curtain tracks for layered systems Smooth runners that prevent snagging Strong mounting brackets for stability Ceiling-mounted tracks for modern styling Correct spacing between curtain layers Reliable hardware allows each layer to function independently. This mechanical detail plays a quiet but critical role in successful layering curtains. Colour And Texture: Creating Balance In Layered Window Treatments Colour choices influence how layered curtains feel within a room. Soft neutrals can calm the space. Deeper tones can frame windows and add contrast. Texture also affects how light interacts with the fabric. Combining textures creates visual interest without clutter. Smooth sheers paired with textured outer curtains often provide the most balanced effect. Neutral sheers for adaptable styling Textured outer curtains for depth Soft colour contrasts for visual layering Fabrics that complement wall tones Subtle patterns used sparingly Thoughtful colour and texture choices help layered curtains feel intentional rather than busy. The goal is harmony between the window treatment and the rest of the room. Layering Curtains In Different Rooms Of The Home Different rooms benefit from different layering strategies. Living areas prioritise daylight control and atmosphere. Bedrooms often focus on privacy and darkness. Each space calls for its own balance. Understanding these variations helps homeowners apply layering curtains across the entire home without repeating the exact same solution everywhere. Living rooms using sheers with decorative curtains Bedrooms combining sheers and blockouts Media rooms prioritising light control Home offices balancing glare and visibility Large windows using extended curtain tracks Tailoring layered curtains to each room ensures the system remains practical. The same principles apply, but the emphasis shifts depending on the space. Professional Installation Makes The Difference Layered curtains require careful measurement and positioning. Tracks must align with window dimensions and ceiling height. Fabric lengths must fall correctly to achieve the intended look. Professional installation ensures both layers move smoothly and maintain their shape. Accurate measurement prevents gaps, bunching or uneven draping. Precise window measurement Correct track placement for layering Balanced curtain drop length Smooth operation of both layers Secure installation for long-term use When installed correctly, layered curtains operate effortlessly. Professional guidance often makes the difference between a functional design and a frustrating one. Here at TT Shutters & Shading, we supply and install curtains in Ballina designed to balance comfort, light control and visual style. Our team helps homeowners understand how to layer curtains effectively so each window treatment works smoothly throughout the day.
More Posts